A-Walking: Horton-in-Ribblesdale to Settle
On Sunday, the 7th July, Stockton Rambling Club had three works in the Ribblesdale area of North Yorkshire. All of the walks started in Horton-in-Ribblesdale and finished in Settle.
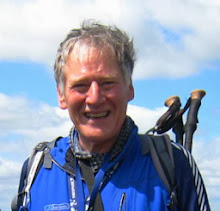
The A-Walk was led by Peter Cull (pictured below). There were nine walkers in the group. Peter's route covered a distance of 13.1 miles and included ascents of Plover Hill and Pen-y-Ghent.

After an enjoyable lunch-stop, we made our way south in order to reach the summit of Pen-y-Ghent (2264 feet). Because the visibility was so good, we had some tremendous views from here.
Following our descent from the high ground, we continued our southerly trek (following the route of the Pennine Way) until we reached Churn Milk Hole. Leaving the Pennine Way, we continued south to Moor Head Lane {SD 8254 691} in order to join the route of the Ribble Way. We followed this south to the small village of Stainforth - where we caught up with (and over-took) the B-Group walkers.
We now made our way to the B6479 road and continued in a southerly direction to find a path (on our left) that took us beneath Stainforth Scar. This path eventually led us into the village of Langcliffe where we re-joined the B6479 road. At {SD 820 647} we took a minor road on our left and followed this to Castlebergh Plantation. At this point we turned onto a westerly bearing and dropped down into the centre of Settle.
A selection of some of the photos that we took during today's walking expedition can be seen by clicking on the pink button below:
Credits:
Many thanks to Jane Thompson and Phil Barker for taking the photographs.
posted by philbee @ 02:20
0 Comments
![]()

0 Comments:
Post a Comment
Subscribe to Post Comments [Atom]
<< Home